If you are the type of person who simply loves to DIY and have been wanting to create a patio table that is a one of a kind piece then this post is for you. By following the steps below you will create your own DIY Butcher Block Patio Table with a unique metal art base that will have your friends and family saying wow!
Supply List
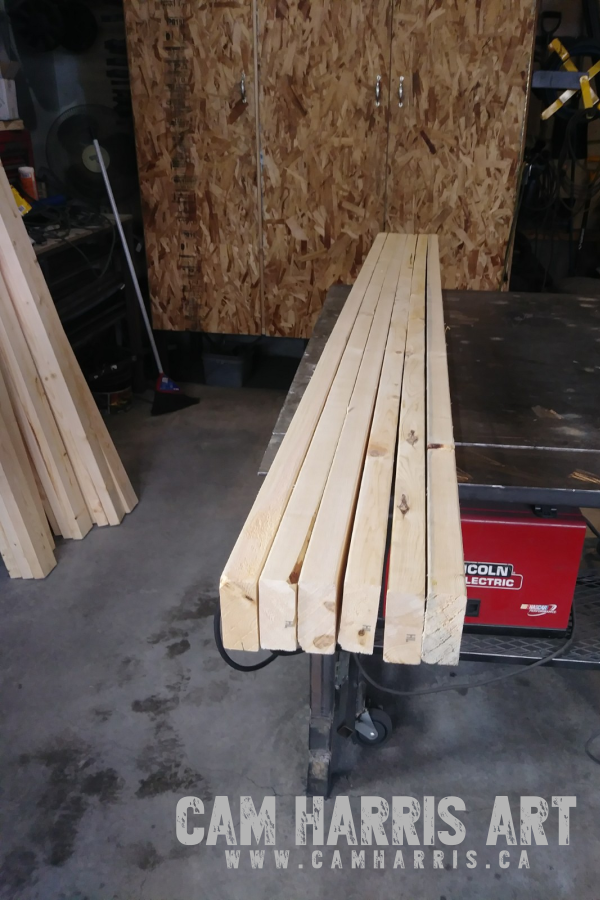
- (24) 2 x 4 in 72″ length in pine, spruce or fir cut
- (1) Package of 2″ or 2 1/2″ wood screws
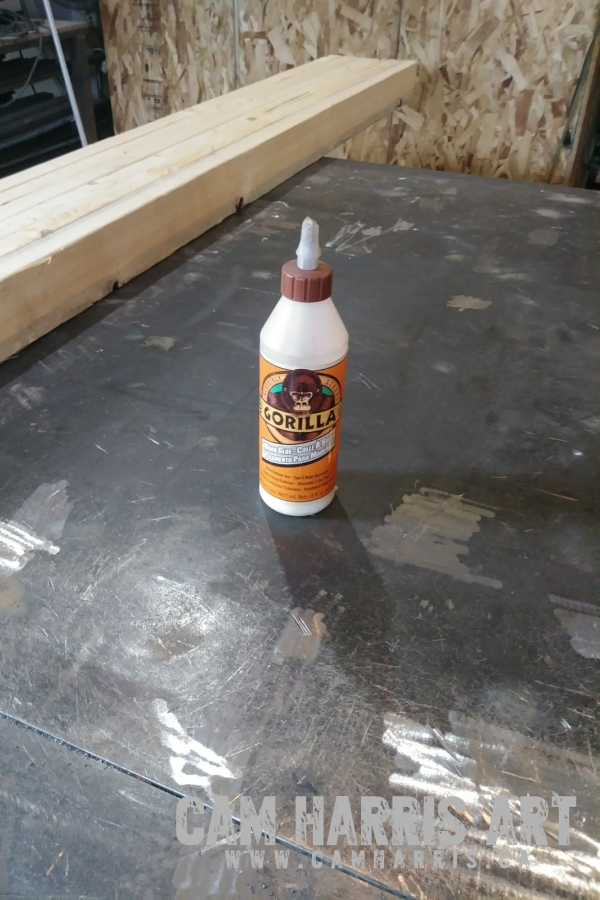
- (1) Large bottle of wood glue, I prefer the Gorilla Glue brand
- (1) Large bottle of the original Gorilla Glue
- (1) 946 ml can of Minwax Wood Finish Stain in your color choice
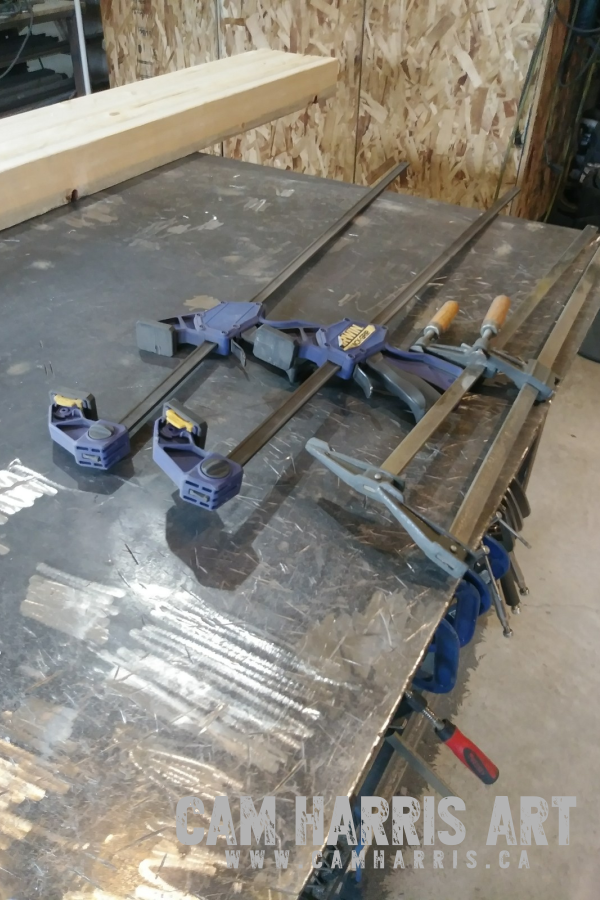
- (4) large wood clamps
- (1) Electric drill
- (1) Thickness planer (borrow or rent one if you like)
- (1) Circular Saw
- (1) metal art table base from Cam Harris Art
Step 1
Gather all the supplies listed above to have them on hand. Also make sure that you have a workbench (or whatever you use) that has a flat, level surface.
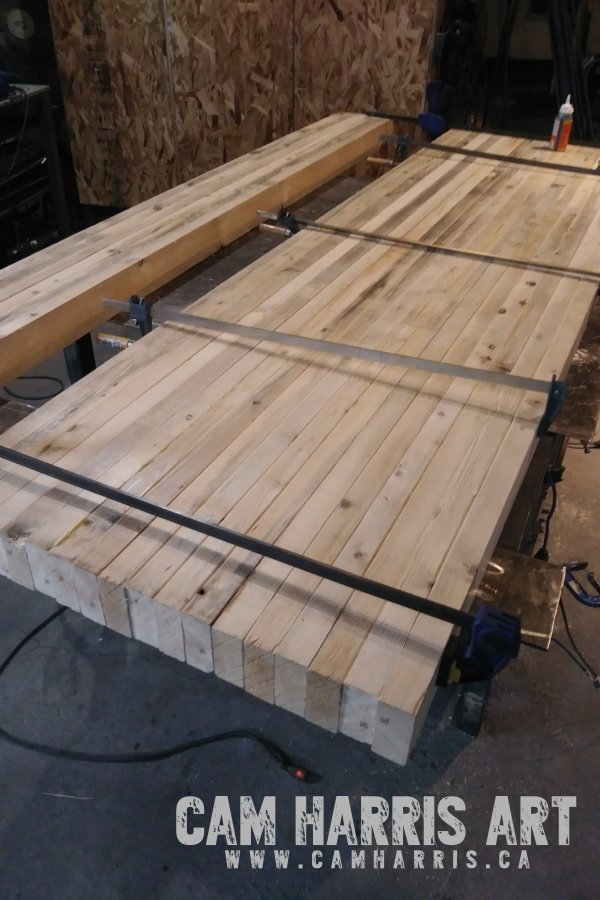
Step 2
Take your 2 x 4’s and begin to lay them together in groups of 6. This will allow you to see which pieces fit best together before you glue them together (see image below). This will make further steps easier if you can get the surfaces as even as possible in the beginning.
I like to find scrap 2 x 4’s in construction garbage piles (make sure to ask the home builder before taking anything) or if that is not possible then you can buy pine, spruce or fir 2 x 4’s at your local lumber supply store. Reclaimed wood is better as it keeps it out of landfills and can really add some unique texture to your finished DIY butcher block patio table.
Step 3
After you have your 4 sets of 6 laid out take the first set and place the outside piece upright. Begin to spread the wood glue (as you see in the image) over the entire side of the next 2 x 4. Then press and set the glued 2 x 4 to the previous one and take your wood screws and drill and screw the pieces of wood together at 4 evenly spaced points along the board. Make sure to have screws within the first 3 inches of each end. As a tip, I clamp the boards together after putting the glued board against the previous board. This allows me to insert screws without having to hold the boards.
Once all 6 boards are glued and screwed together clamp them tightly at four points and allow the glue to set for at least 30 minutes.
Repeat this process for all four sets.

Step 4
Once the 4 sets are glued and have time to set for a day it is time to run them through the thickness planer. I use a Dewalt table top planer and once the thickness is set for the first block of boards run each block through to get the uneven surface down until there is no more wood being planed off. The next thing to do is set the planer to take off another 1/32″ and then run all 4 blocks of boards through again. Do this over and over until you get the top surface to a level that you are happy with.
Now it is time to do the bottom of the blocks and it is the same process as the top. Set the thickness and run the first block through over and over until there is no more wood being planed off. Run each of the other blocks through the same way. Once all of them are planed down reduce the planer by another 1/32″ and run the blocks all through again. Do this as well over and over until you have the desired surface you want.
In the end all the blocks will be the exact same thickness and once set together will create an even surface across the entire table top.

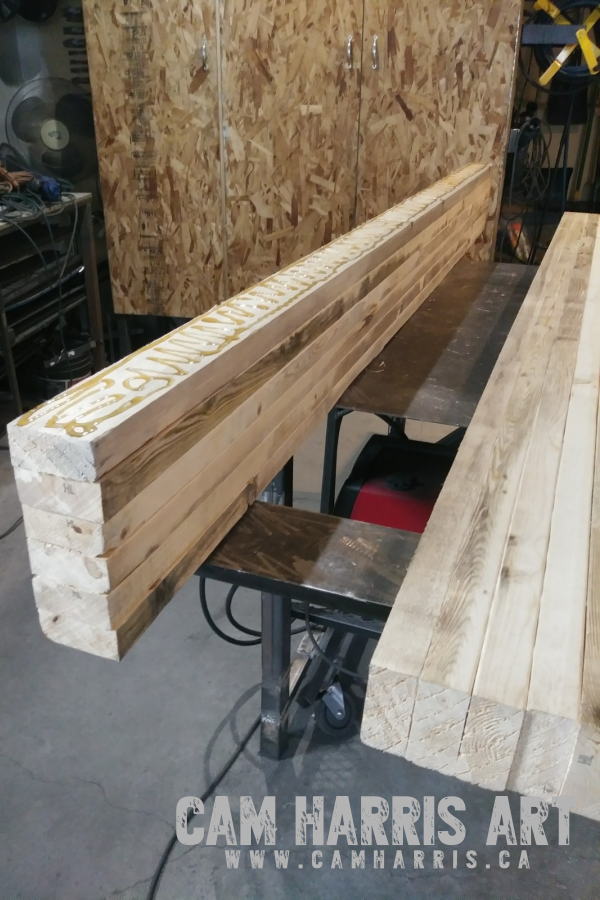
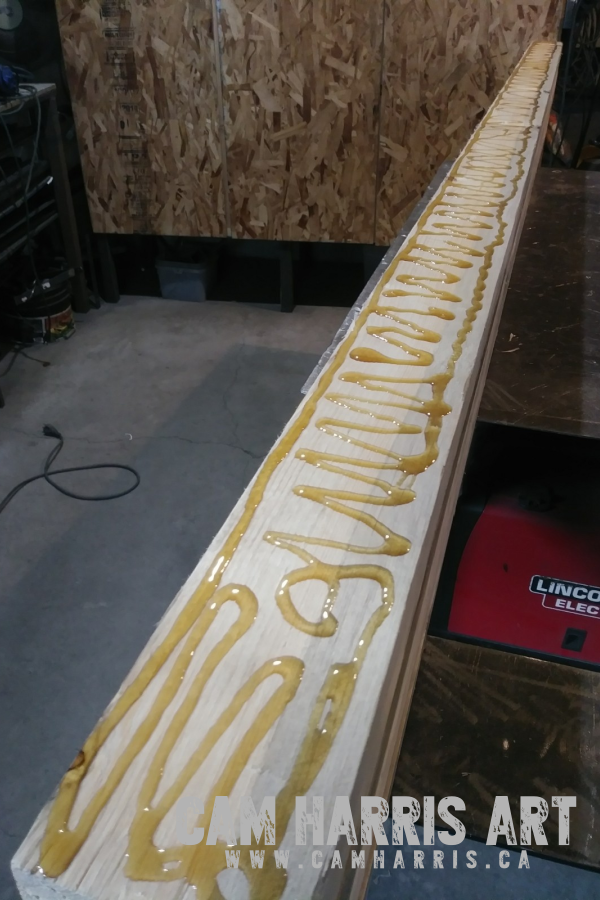
Step 5
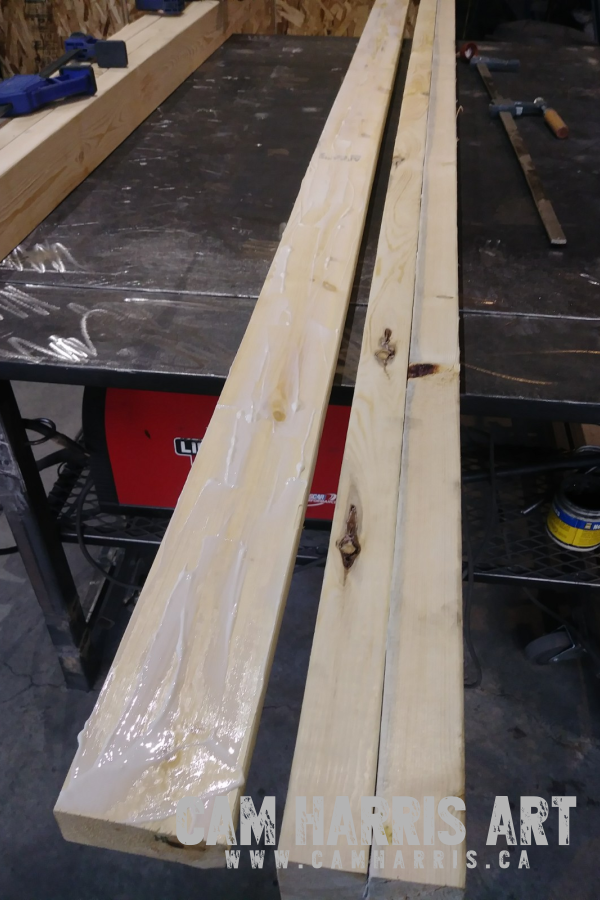
The final gluing stage is to glue the 4 blocks together. I use the original Gorilla Glue as it has expanding capabilities. Pour a generous amount of glue on the end board as in the image. Make sure that there is a line of glue all around the edge of the board.
Prior to pressing the blocks together I spray water on the Original Gorilla Glue. This activates the glue to expand once it is clamped together and will fill any small gaps that may be in between the blocks. That expanding glue can be cut off or removed with a small drywall mud trowel then sanded later.
Make sure to line up the ends of the blocks together and then press all the blocks together making sure to clamp them tight for at least an hour to allow the glue to set. You will begin to see the expanding glue come out of any gaps in the wood and it will look like expanding foam.
Step 6
You will find that one end of the table will have the boards all flush where you lined them up during the glueing process and the other end will be uneven. It is here that you will want to measure from the even end the finished length you want and draw a line across the end of the top. This line is where you will want to cut by attaching a straight guide piece to the top of the table. This straight guide will allow you to run the edge of your circular saw along it to ensure an even end to the table top.
Step 7
Sand the top sides and bottom of the table top in preparation for staining. I like to use a palm sander as it gives me more detailed control. You will find the top to be very heavy so make sure you have someone to help you flip it over during the sanding and staining stages. As a tip I try to make sure that I sand the bottom last and then it becomes the first surface I stain.
After sanding it make sure to brush and wipe off any excess sanding dust from the surfaces.

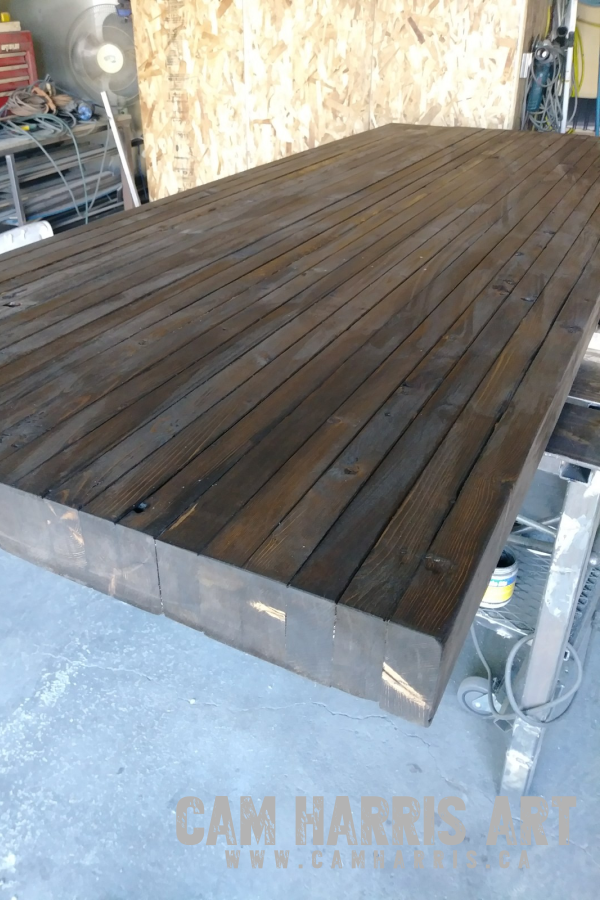
Step 8
Staining the top is simple but takes time. Get out the stain you chose prior to making your DIY butcher block patio table and make sure to stir it (don’t shake stain). Apply the stain using either a foam brush or bristle paint brush over the entire surface. By the time you are done covering the surface it will be time to wipe off the excess stain using shop rags or any old sheets or cloth you have lying around.
Once the stain dries on the bottom you can flip it over and do the top and sides of the table.
Allow the stain to dry for 24 hours and then if you like you can coat it with a clear coat either using the brush method or a spray can. The clear coat will give you many more years of weathering outside.
Step 9
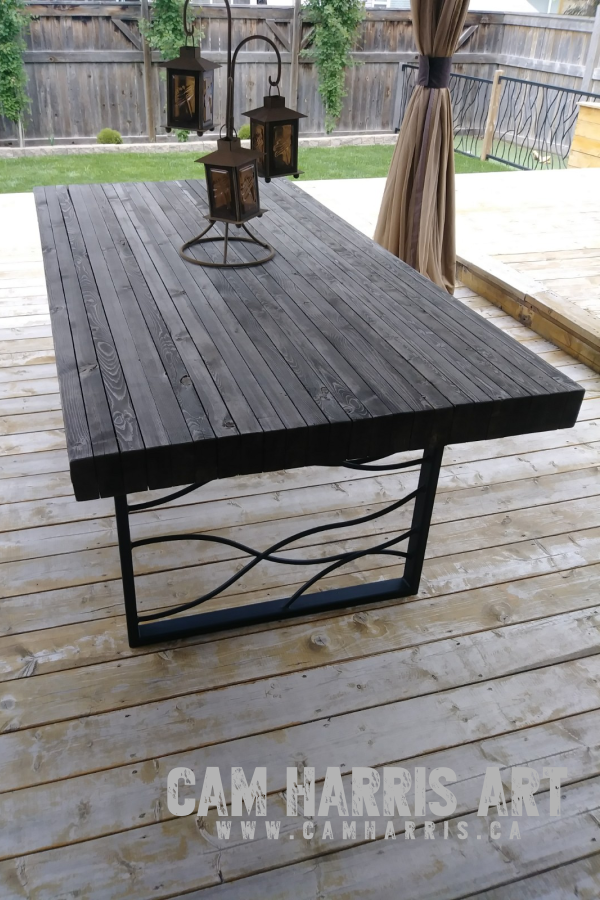
With the help of a friend or two, carry your DIY butcher block table top and place it on the custom iron art table base you bought from me here at Cam Harris Art and simply attach it with screws.
Congratulations you now have your very own beautiful patio table! It is time to send out the dinner invites and begin to make those cherished memories with friends and family as you sit around the table on those long warm summer evenings. Enjoy.